Various tips and repairs
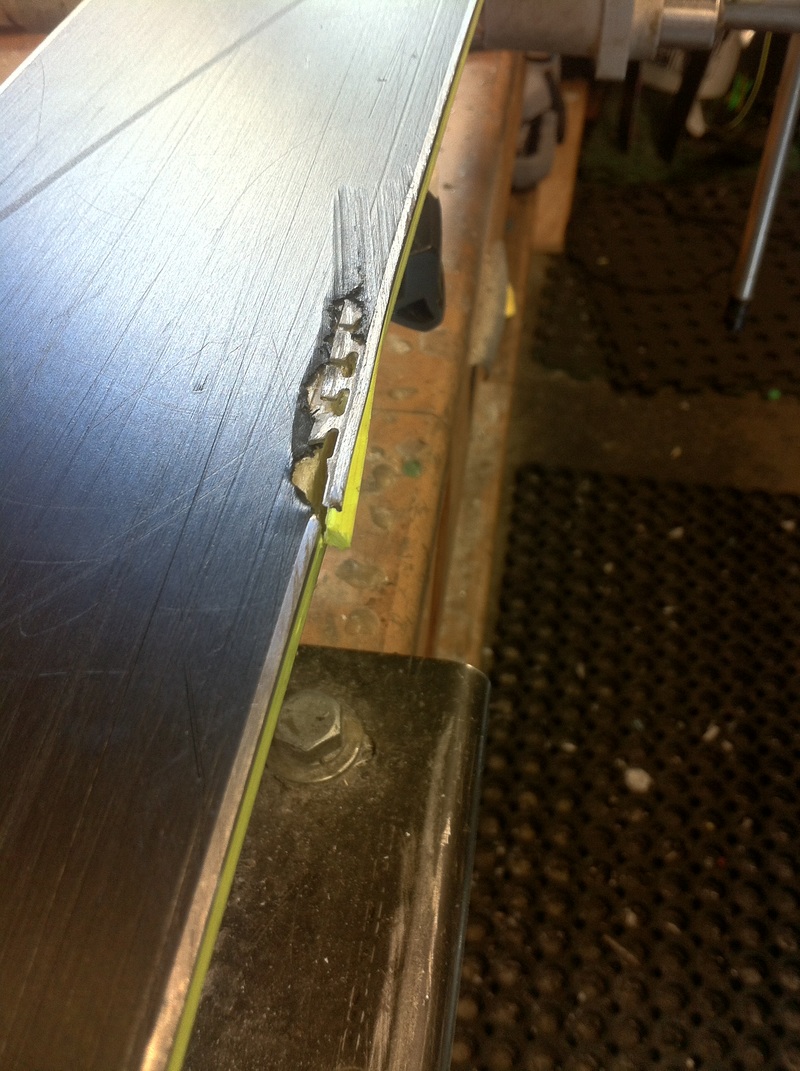
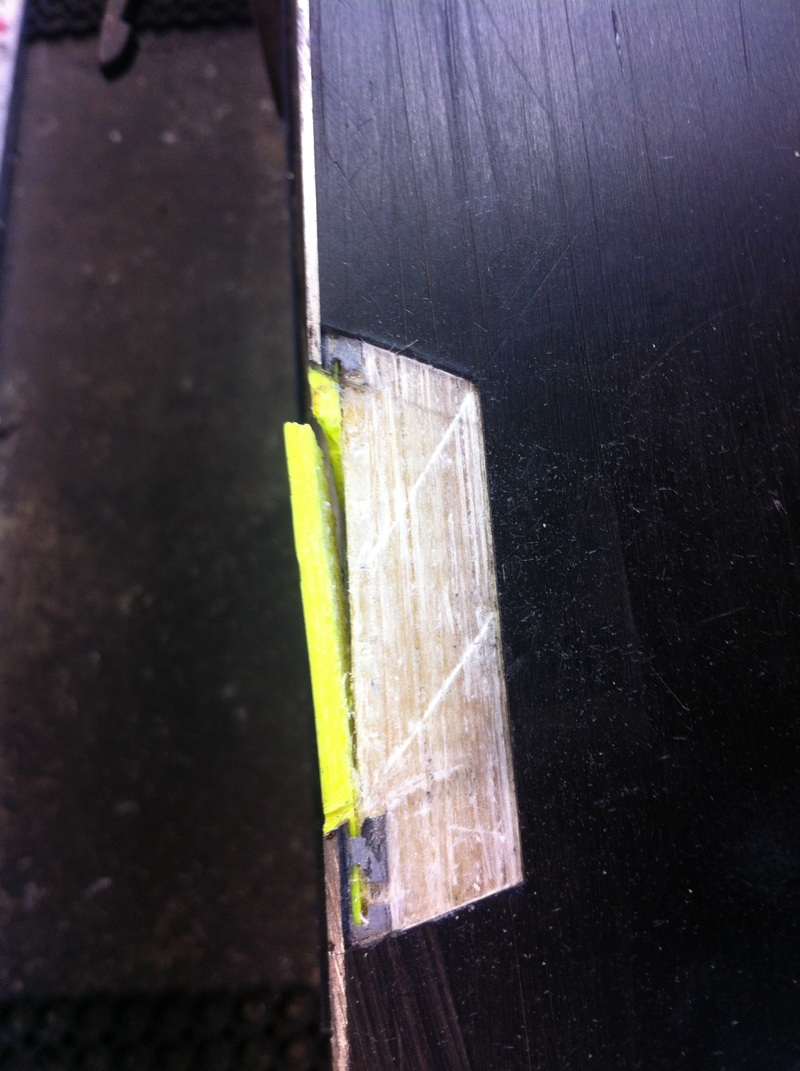
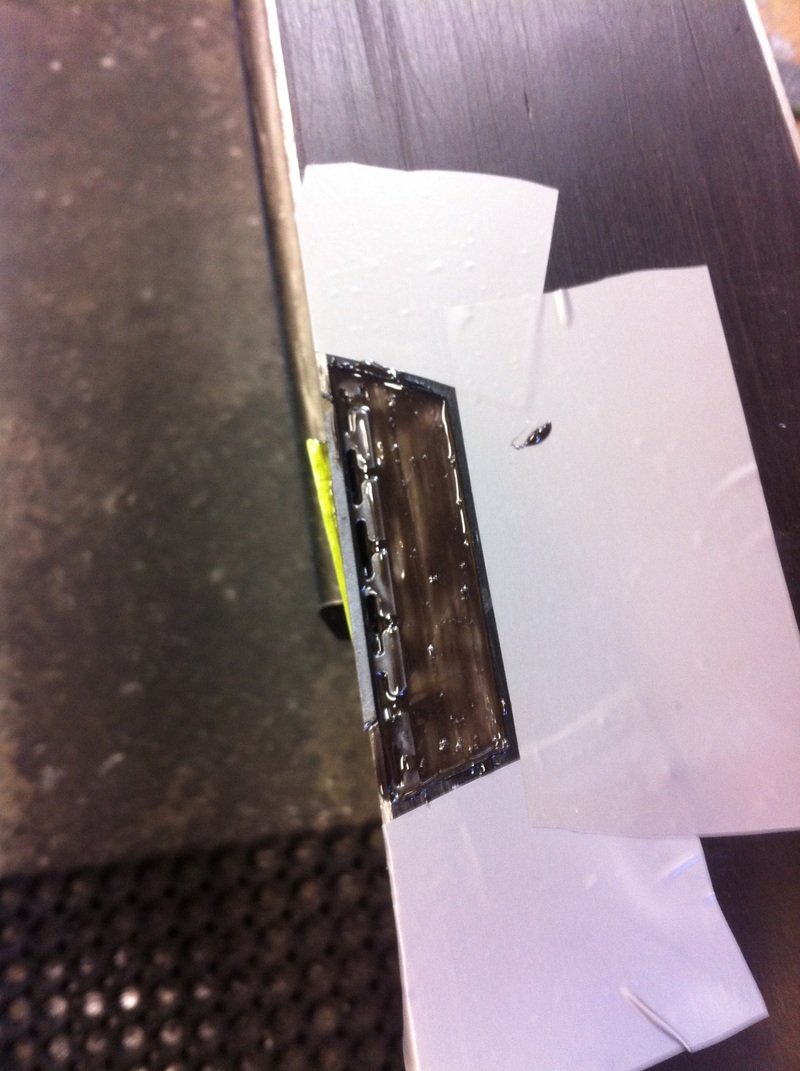
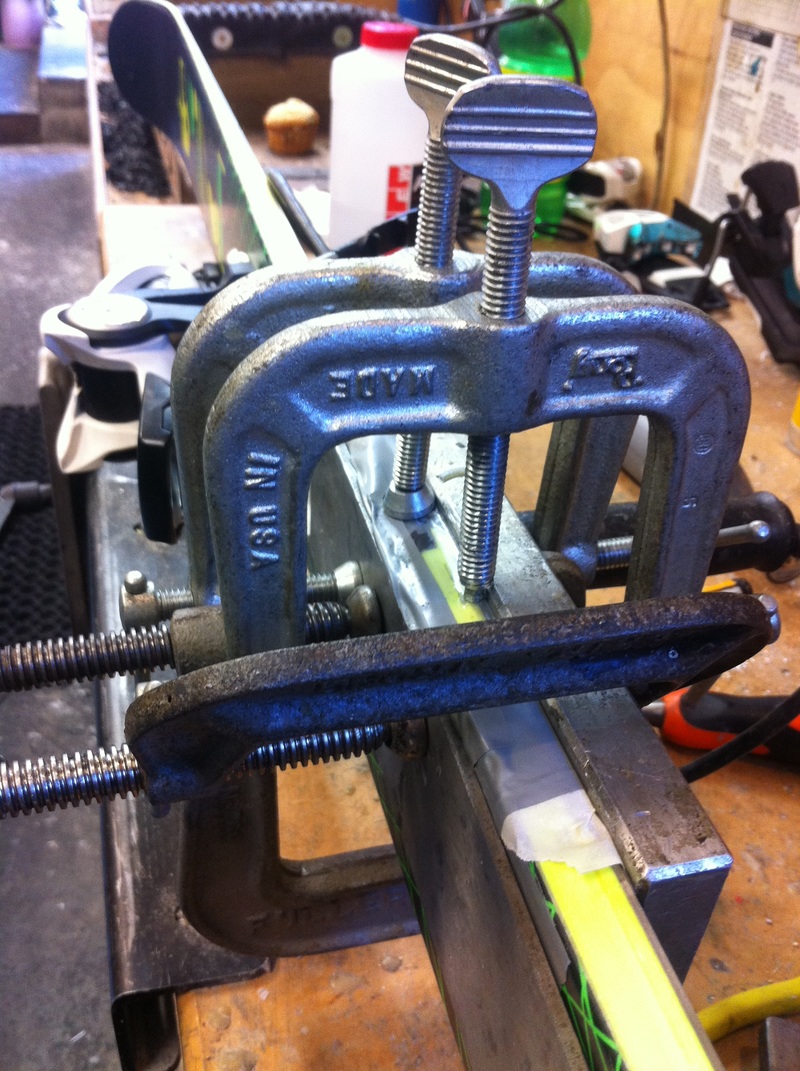
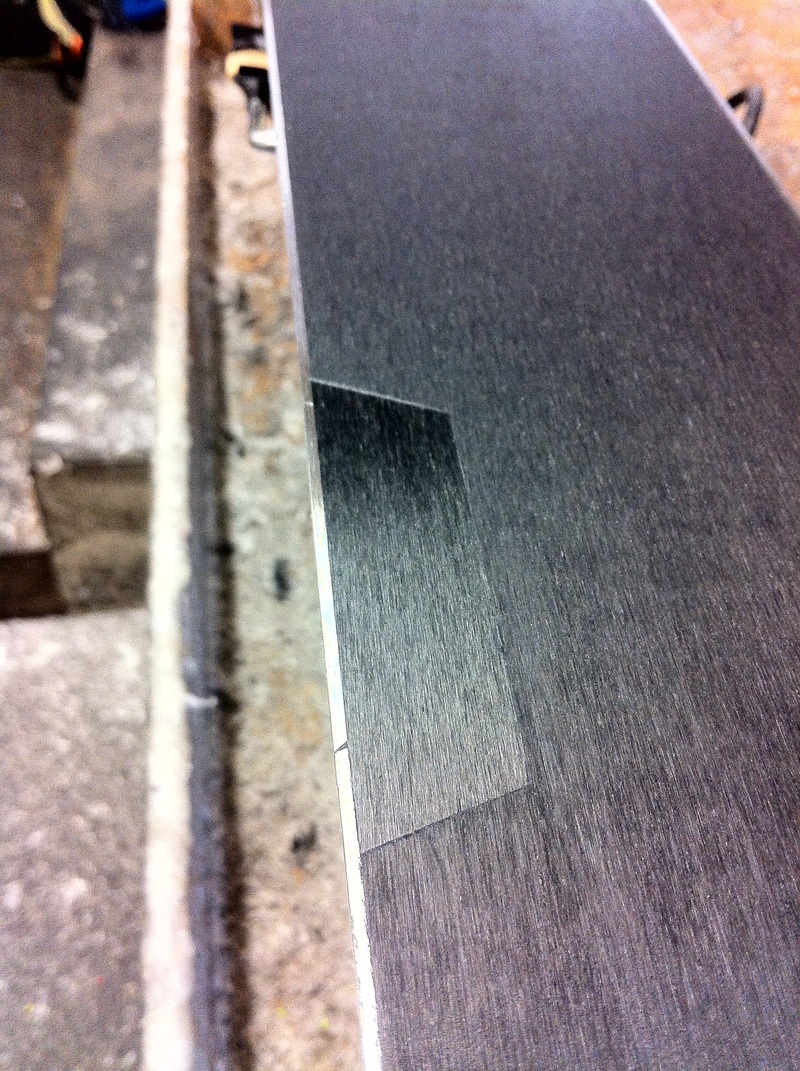
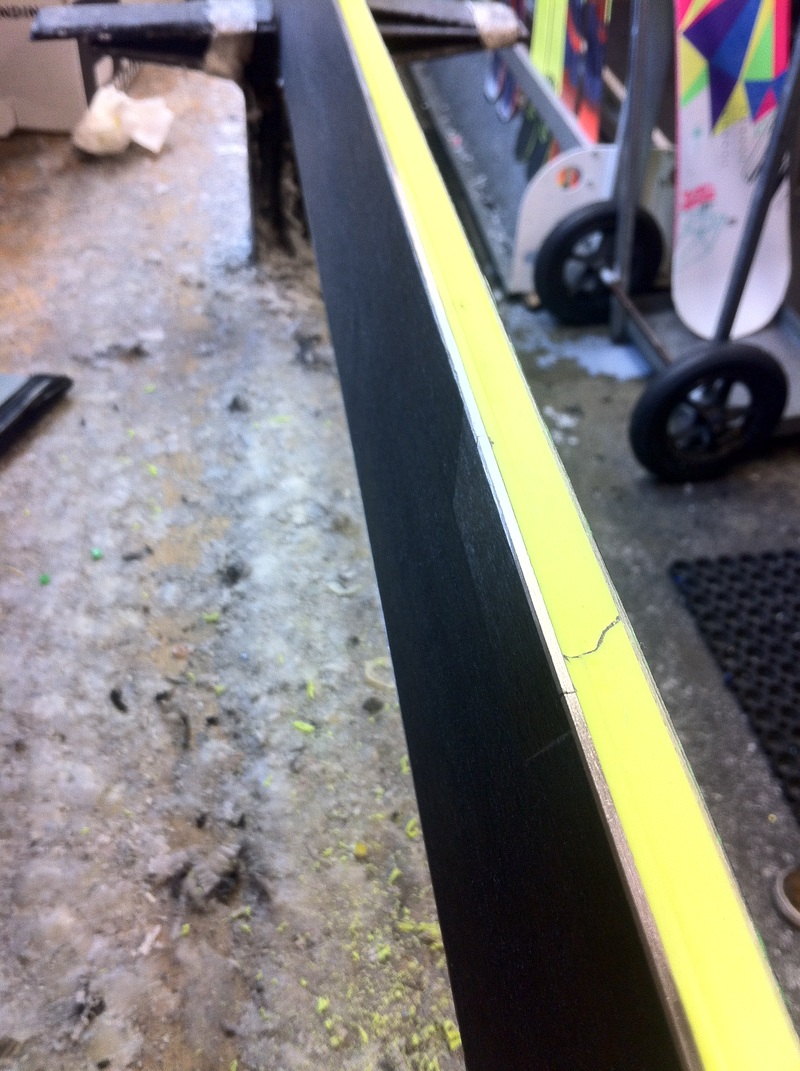
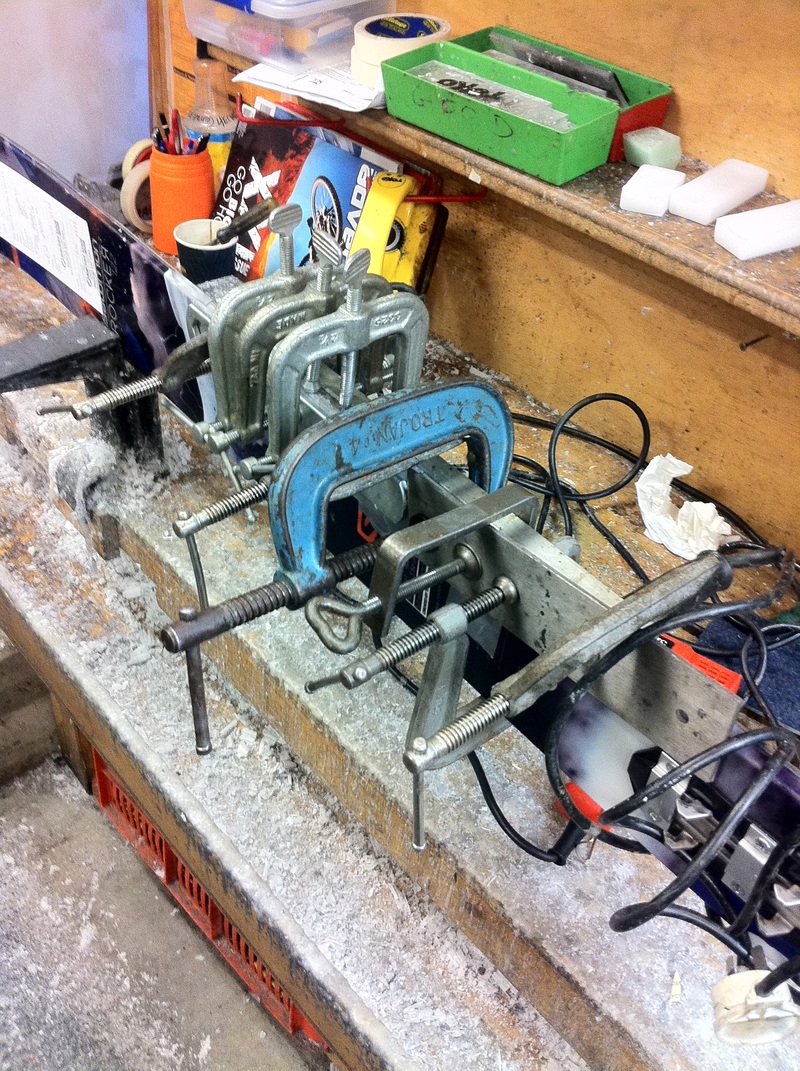
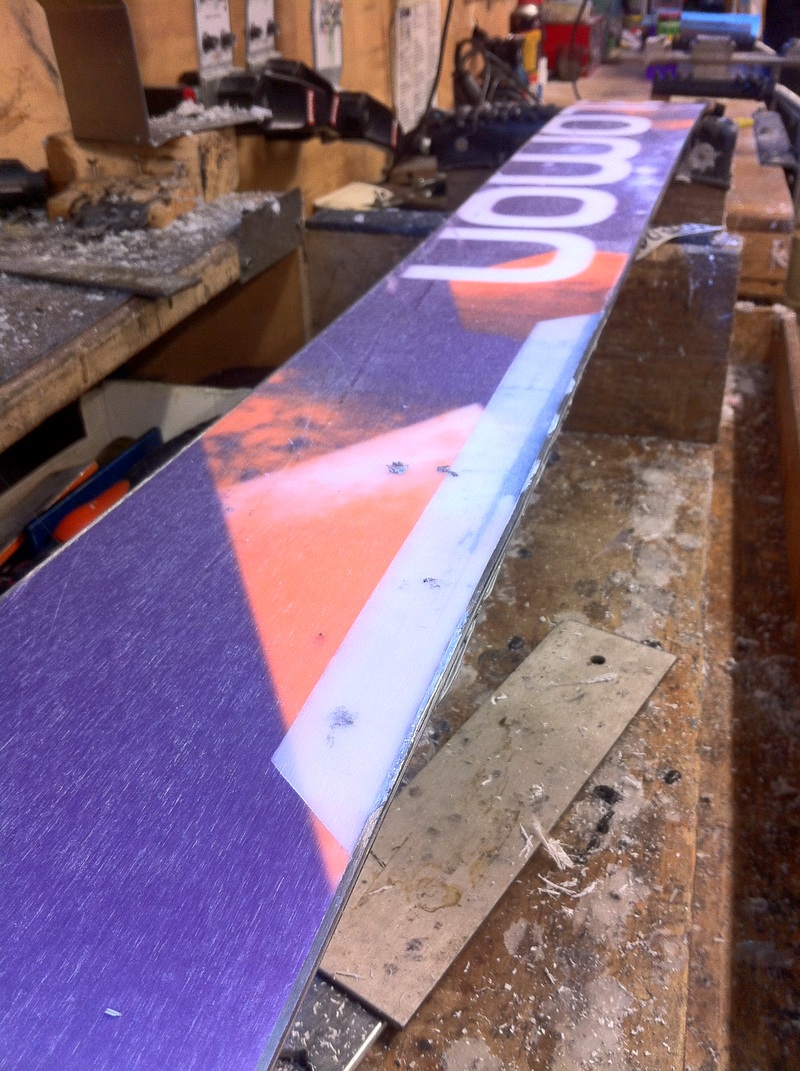
A lot of what i do for my job involves major repairs to a ski or snowboard, it could be patching a base, replacing an edge or rebuilding a sidewall.........I think that most damage to a ski can be fixed (obviously there are some exceptions).
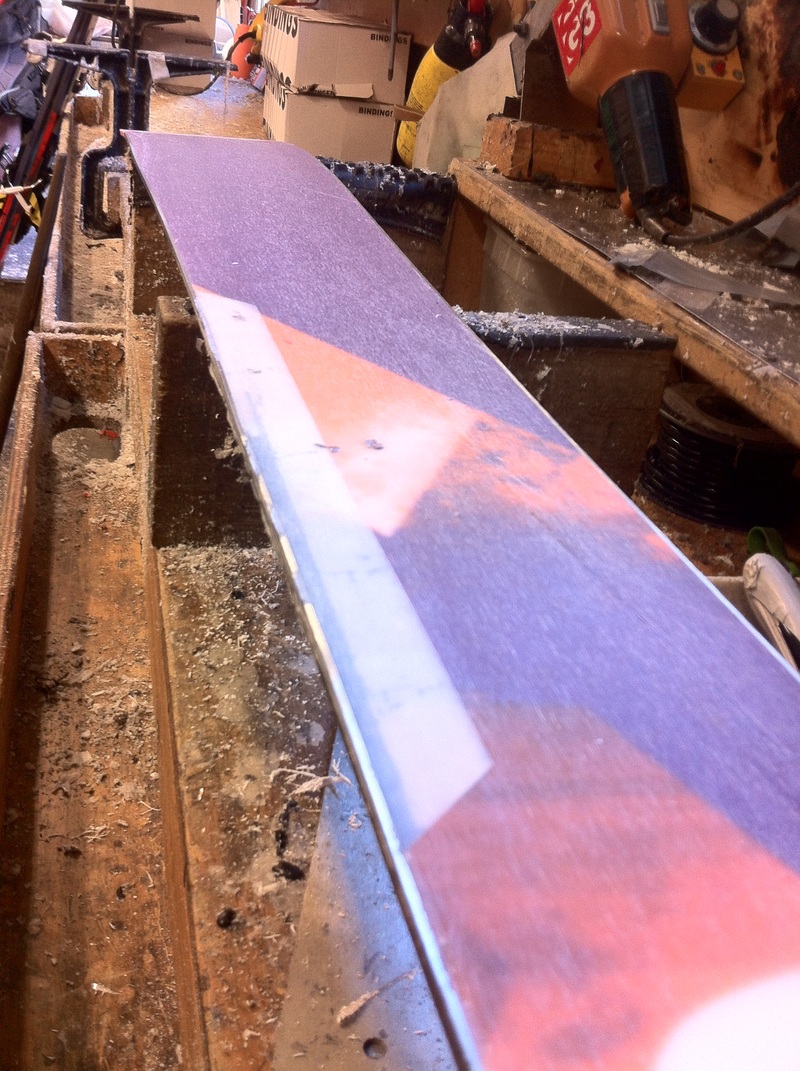
I thought i would show some of the more recent fixes that i have done here in New Zealand, this is a great country to be a Ski Tech as they don't have a throw away culture like in Europe. They try and fix a ski before replacing it, so its the perfect place to practise the trade.
Hover mouse over images to see explanation
The Art of Waxing
There is definitely an art when it comes to waxing your board, its something that is usually overlooked and not done enough of. Think of it as oiling your chain on a bike.....but do it a lot more often. I recommend waxing your board at least every 6 or 7 days of use depending on the time of year and the type of snow you are on. usually the warmer spring snow will strip your board of wax quicker then in the colder months.
Check list for home waxing
Step 1
Clean your base. Use wax remover and a cloth to take any grease and dirt off the base. This just means you won't be scrap gin and dirt over your base with the iron, and it cleans out the pores. There are more advance ways to do this, but they are pretty unnecessary for home waxing.
Step 2
Apply the wax, do this in a well ventilated area. Get your wax iron up to about 100 degrees and point the corner towards the board so that the wax drips in nice even blobs. put a corner of the wax against the iron and drip an 'S' shape along your board. There doesn't need to be a huge amount of wax, in fact its good to have not quite enough otherwise you are just wasting your wax. This is something you will learn with practise.
Now come the part that in my opinion is the most important, spreading the wax. Most people move the iron in quick circles, but i think this is pretty ineffective. Hold the iron flat to the base and slowly move the iron down the length of the board, you don't need to apply too much pressure and don't hold the iron in the same place for too long.....keep it moving. This way the wax is distributed evenly and you get a nice flat coating, rather then a messy coating. It makes it easier to scrape later.
Step 3
Leave the wax until its completely cool to the touch, the longer the better.
Step 4
Grab your scraper and hold it so that it is angled away from you and one edge is against the wax. Get your thumbs behind the scraper and push away form you with long strokes, you want to scrape the wax off, not chisel it away. Wax is just a carrier for the good stuff that gets absorbed into your board, so once it has cooled it serves no purpose.
Step 5
Once the wax is scraped away, you need to get the hard brush and get rid of any left over wax. Once this is done, the soft brush will add a nice smooth texture to the base. Job done!
There is definitely an art when it comes to waxing your board, its something that is usually overlooked and not done enough of. Think of it as oiling your chain on a bike.....but do it a lot more often. I recommend waxing your board at least every 6 or 7 days of use depending on the time of year and the type of snow you are on. usually the warmer spring snow will strip your board of wax quicker then in the colder months.
Check list for home waxing
- Iron(any cheap iron will do, i int the travel irons work well)
- Wax (Butta wax is the best you can get for both value and quality)
- Scraper (cheap to buy, its essentially a piece of 5mm thick perspex)
- Brush (its good to have a hard brush and a soft brush)
- Wax Remover (Not essential but if you want to do a good job then i advise having some, Green stuff is great)
- Surface to do it on. (The guys at Butta found that an old keyboard stand works great, or take your bindings off and find a flat grippy surface)
Step 1
Clean your base. Use wax remover and a cloth to take any grease and dirt off the base. This just means you won't be scrap gin and dirt over your base with the iron, and it cleans out the pores. There are more advance ways to do this, but they are pretty unnecessary for home waxing.
Step 2
Apply the wax, do this in a well ventilated area. Get your wax iron up to about 100 degrees and point the corner towards the board so that the wax drips in nice even blobs. put a corner of the wax against the iron and drip an 'S' shape along your board. There doesn't need to be a huge amount of wax, in fact its good to have not quite enough otherwise you are just wasting your wax. This is something you will learn with practise.
Now come the part that in my opinion is the most important, spreading the wax. Most people move the iron in quick circles, but i think this is pretty ineffective. Hold the iron flat to the base and slowly move the iron down the length of the board, you don't need to apply too much pressure and don't hold the iron in the same place for too long.....keep it moving. This way the wax is distributed evenly and you get a nice flat coating, rather then a messy coating. It makes it easier to scrape later.
Step 3
Leave the wax until its completely cool to the touch, the longer the better.
Step 4
Grab your scraper and hold it so that it is angled away from you and one edge is against the wax. Get your thumbs behind the scraper and push away form you with long strokes, you want to scrape the wax off, not chisel it away. Wax is just a carrier for the good stuff that gets absorbed into your board, so once it has cooled it serves no purpose.
Step 5
Once the wax is scraped away, you need to get the hard brush and get rid of any left over wax. Once this is done, the soft brush will add a nice smooth texture to the base. Job done!
Salomon Tech Manual
For any budding Ski Techs, this is a pretty good read. It covers most of the basics with tuning, plus help with rental set ups ect.....worth while having in any workshop
The manual is available at -
For any budding Ski Techs, this is a pretty good read. It covers most of the basics with tuning, plus help with rental set ups ect.....worth while having in any workshop
The manual is available at -
http://salomontechnician.com/uploads/2013_salomon_alpine_tech_manual.pdf
